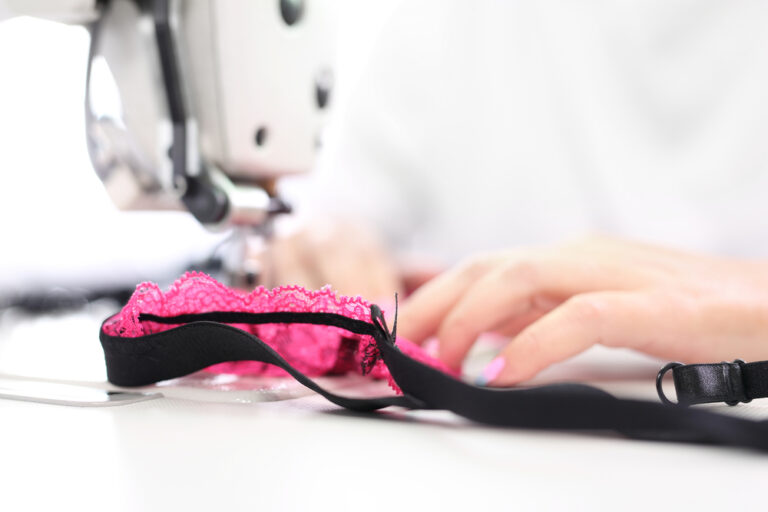
Headbands are a beautiful accessory that comes in all colors, shapes, and styles! This simple piece of headwear can spruce up any outfit and it helps to keep your baby’s beautiful locks of hair out of her face. Whether you are a whiz with a needle and thread or new to DIY activities, here are a variety of ways to make baby headbands that will leave everyone swooning over your sweet babe!
Style #1: Knotted Cotton Headband

This is a classic look for children and adults alike! Best of all, this technique allows for longer useability because an elastic band is included in the design.
Supplies Needed
- Soft Measuring Tape
- Cotton Fabric
- Felt Fabric
- Loop Turner
- Ruler
- Scissors
- Rotary Cutter
- Sewing Machine
- Sewing Needle
- Thread
- Elastic Band (less than 1” in width)
Step #1: Measure Your Fabric And Cut Individual Pieces
Taking the soft measuring tape, determine the circumference of your sweet daughter’s head and then add three inches to that number. This will be the length of the cotton fabric. For example, if she has a measurement of seventeen inches, you will need to cut twenty inches worth of material. Then, the width will be eight inches.
In terms of your felt fabric, you need to cut a rectangular piece that is approximately four inches by nine inches. This will serve as an enhancement to the structure of the headband.
Next, you will take your large cotton cutout and using a rotary cutter, cut off two pieces of the fabric that equal three inches by eight inches [Parts B and C]. Thus, in our previous example, this will leave eleven inches worth of fabric [Part A].
Step #2: Prepare The Sections
Once everything is cut, you are going to fold the fabric in half widthwise, turning part A into a four-inch section and parts B and C into 1.5 inch sections. In this step, make sure to fold the fabric with the backside facing out. On part A, lay your felt section on top of the cotton section (after folding).
Then, using a sewing machine, you will stitch along the open edge of the long side of the fabric. Using part A, close the gap and attach the felt at the same time. Next, using your loop turner, flip the three newly stitched pieces so that the correct side of the fabric is facing outward.
Step #3: Create The Knot
Take part A and fold it in half lengthwise. Determine where the center of the fabric is located and then fold the center like an accordion in the widthwise direction. Then, using a needle and thread, stitch the folded section together.
Once this is complete, grab one of your small sections of fabric [Part B] and fold it over the center of part A. Pull it tight and sew the sides together to form your knot. Finally, cut away any excess fabric and carefully flip this section so that the stitching becomes hidden.
Step #4: Make The Elastic Backing
Now taking your final section of fabric [Part C], slide a four-inch-long elastic band into the centerfold. Allow the cotton fabric to bunch in the center of the elastic band so that the edges of the cotton fabric and the elastic band align. Then, using your sewing machine, stitch along either side to secure the elastic piece.
Finally, lay the main headband piece on a flat surface with the front side facing downward. Then take the elastic section and place it on top, with the seam facing upward. Align the left edge of each of these pieces, folding the fabric on part A around the edge of part C.
Sew these to sections together and cut away any excess material. Repeat this process on the right side. When this is done you can flip the folded edges outward to hide the stitching. Voila! You have a beautiful, adjustable knotted headband!
RELATED: How To Make Baby Burp Cloths
Style #2: Jersey Knit or Jacquard Headband
This headband is simple in design and much easier to make. You can choose a more vibrant, patterned fabric to add some pizzazz or for the more experienced seamstress, consider trying your hand at a headband style bow!
Supplies Needed
- Soft Measuring Tape
- Jersey Knit or Jacquard Fabric
- Ruler
- Rotary Cutter
- Sewing Machine
- Thread
Step #1: Prepare Your Fabric
Just as before, measure the circumference of your baby’s head. Then, add half an inch for buffer material. With this design, the width will be six inches long. Evenly cut your fabric using a rotary cutter and a straight edge, like your ruler. Next, you will fold the fabric in half widthwise, making it three inches wide instead of six. Make sure that the patterned side is facing inward.
Step #2: Start Sewing
Using a sewing machine, stitch along the edge of the long side of the fabric. Once this is complete, flip the fabric so that it is facing the correct direction and center your seam. Again, you will fold the fabric in half, this time cutting the length in half.
Lastly, sew the two ends of the fabric together. Flip the headband so that the seam is facing inward and you are done! As mentioned before, this is the first step in making a headband with a giant custom bow! You can also add beads, buttons, and other embellishments to dress up your accessory.
RELATED: How to Make a Baby Wrap
Style #3: Basic Flower Headband
For the mom who wants to accessorize without a lot of added effort, we have an adorable design that requires no sewing and simple supplies! Best of all, you can make these with flowers, bows, beads, or whatever decorations tickle your fancy!
Supplies Needed
- Soft Measuring Tape
- Elastic Band Fabric (preferably 1 inch in width)
- Flower Embellishment
- Ruler
- Scissors
- Hot Glue Gun
Step #1: Prepare The Elastic Band
First, measure the circumference of your daughter’s head and add half an inch of extra length to give room to attach the two sides [Part A]. Cut this section out and place it aside. Next, measure and cut an additional section that is 1.5 inches in length [Part B]. This will serve as the base for your flower embellishment.
Step #2: Hot Glue Everything Together
Take Part A and glue the two sides together, utilizing half an inch of overlay to accommodate the glue. Then, wrap Part B over the top of the area that you just glued down on Part A. Glue the two sides of this piece down and pinch firmly until the glue dries. Finally, hot glue your flower embellishment to Part B, and your headband is complete!
Fabric Choice Matters
Just like with any other piece of apparel that you put on your baby, it is important to choose materials that will not irritate their sensitive skin. Basic cotton, jersey knit and jacquard stretch are favorites among moms who want affordable options that are perfect for a baby of any age and skin type.
It is important to note that if you choose a basic cotton base, it is best to add an elastic band to the back to allow for a more comfortable fit. Alternatively, the other two fabrics have a bit of flexibility built in so this extra step is not necessary.
FAQs – How To Make Baby Headbands
When can my baby start wearing a headband?
When your sweet little one first enters this world, it is best to limit the usage of accessories to short spurts of time. This is because their heads are still quite soft. If a headband is too tight or puts pressure on the wrong area, it can impact the proper growth of their head.
Moreover, the AAP (American Academy of Pediatrics) has found a correlation between early headband use and the occurrence of alopecia in infants. However, once they hit their six-month mark, you are free to accessorize as you see fit!
Conclusion
Making a baby headband can be as simple or as intricate as you would like! Get creative with your embellishmentsand have fun with the process. Remember that the most important step in making this accessory is to act like Goldilocks — you want it to fit just right. If it is too tight, it can put pressure on their little head and cause discomfort. If it is too loose, it can slide over their mouth and neck, becoming a suffocation hazard.
In order to avoid these issues, monitor your sweet little one when they wear this item and take it off when you put them to bed. Moreover, take proper measurements and replace these items as needed. If you notice an indention when you remove the headband, then it is time to size up! This is one of the big benefits of making your own baby headbands. Creating new options as your baby grows is easy and affordable!